How to Get the Most Out of Your Lightroom Presets: Tips & Tricks
How to Get the Most Out of Your Lightroom Presets: Tips & Tricks
Advice from a professional photographer and photo editor on how to make sure your Lightroom Presets look great on any photo, even an Instagram selfie!
So you’ve downloaded the free Lightroom app and bought some great new presets from In Colour Presets. Now what? Let’s go over what makes a great picture, the best tools to customize your presets, and tips on exporting your images to your phone once you’re ready to post to Instagram!
Presets Will Look Different Depending on The Image
The first thing to remember when applying presets to your images is that every single photo you take, from the countless pictures of your pet, to the professional portrait outside; every single one is different. Different lighting, different angles, different colors. Each of these differences will matter when applying your presets in Lightroom.
Great Lighting Will Help Your Presets Look Amazing
What makes a great picture, and how can we make our photos better? I suggest focusing on lighting first and foremost, because great lighting is your best friend especially when it comes to presets.
Shoot your images in the early morning or late evening for the best lighting.
If you’re a beginner, or you’re mostly taking pictures of people on your phone: face your subject toward a light source; maybe a window, or sun light.
If you’re shooting in the middle of the day, putting your subject in the shade will create even toned, beautiful lighting. TIP: Keep in mind that shade can sometimes be much cooler temperature-wise on your image; I’ll talk about this more further down.
If you’re shooting flatlays or a still life, it can be helpful to have light coming from many different directions. A white poster board as a reflector can work wonders if you’re inside with just one window to work with. Just place the poster board opposite to your light source, with your subject in the middle for a brighter, better lit image.
Blown out highlights or dark shadows can only be adjusted to a point in Lightroom; make sure your exposure is correct but if you’re unsure, a slightly darker photo is easier to edit. If you’re shooting on your phone; turn on HDR for a perfectly exposed image.
Colors Can Affect how Your Presets Look; Adjust Accordingly
Colors are also a big part of how a preset will look on your photo. This includes the actual colors in your image, like what your subject is wearing, blue sky, green grass, etc. and also the color temperature of your lighting.
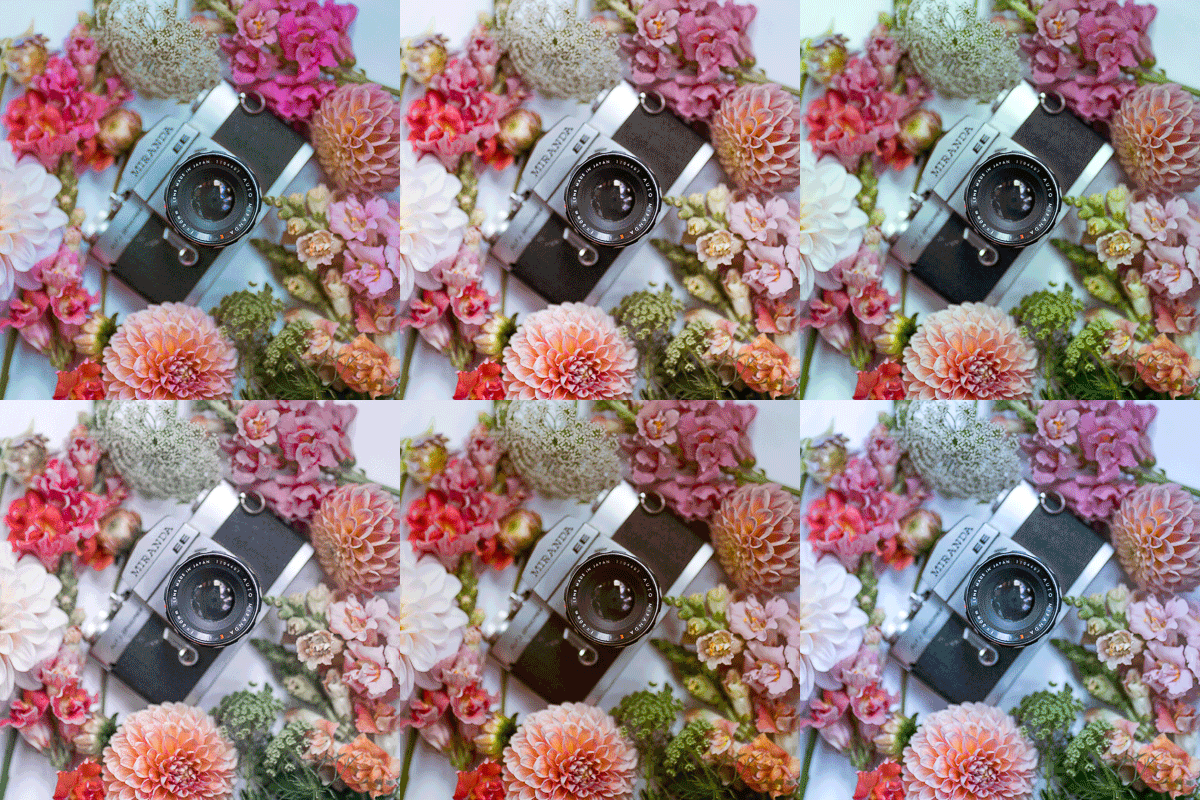
Depending on the colors in or on your subject, each Lightroom preset can look different. To test this out, take a photo of something colorful and preview all your presets on this image to see exactly how each color reacts. Testing your presets out on several different images is a great way to get familiar with that presets’ unique color ‘personality’.
What is color temperature? This term refers to the ‘temperature’ of a given light source. For example: daylight is considered ‘cool’, while lamplight is usually considered ‘warm’. Depending on the color temperature of your image, you may need to adjust your white balance in Lightroom after your preset is applied. If your image is very cool (taken outside in shade or low lighting) you can add warmth by sliding the blue/yellow slider (found in the ‘Color’ tab) toward yellow. If you took your photo inside and it’s really yellow, try sliding your white balance over to blue. You can also adjust any green or magenta tones right below. This is the easiest way to color correct an image after you’ve applied your preset.
If you’re shooting portraits, it’s also important to pay close attention to how your Lightroom presets alter the subjects skin tone. TIP: Customize each preset for the most flattering skin tone by changing the color ‘Mix’ or HSL (hue, saturation, luminance). This can be found by tapping the rainbow circle in the ‘Color’ tab in Lightroom mobile. From here, play around with the settings for red, orange, and yellow to fix any skin tone issues.
Exporting Your Newly Edited Image
Once you’ve applied your favorite In Colour Presets and customized your photo, it’s time to export it. There are some great tricks that will benefit not only the storage space on your phone, but also the quality of your image! Instead of hitting ‘Export to Camera Roll’, take a look at ‘Export as…’ at the bottom of your export options.
A new menu will open up with many different options. can choose your file type, customize your dimensions and image quality, and even change the file name! Once I’ve cropped to 4x5, I like to change my dimensions to export at 1500px, so my photo will be resized for Instagram, and won’t be a huge file that will take up a lot of space.
Utilize these tips and tricks when applying your Lightroom Presets, and all your photos will look amazing! If you have specific questions about Lightroom or In Colour Presets, please don’t hesitate to reach out to me via e-mail or DM me on Instagram or Facebook. Happy editing!


